Chocolate Self Saucing Pudding Recipe – Easy & Foolproof
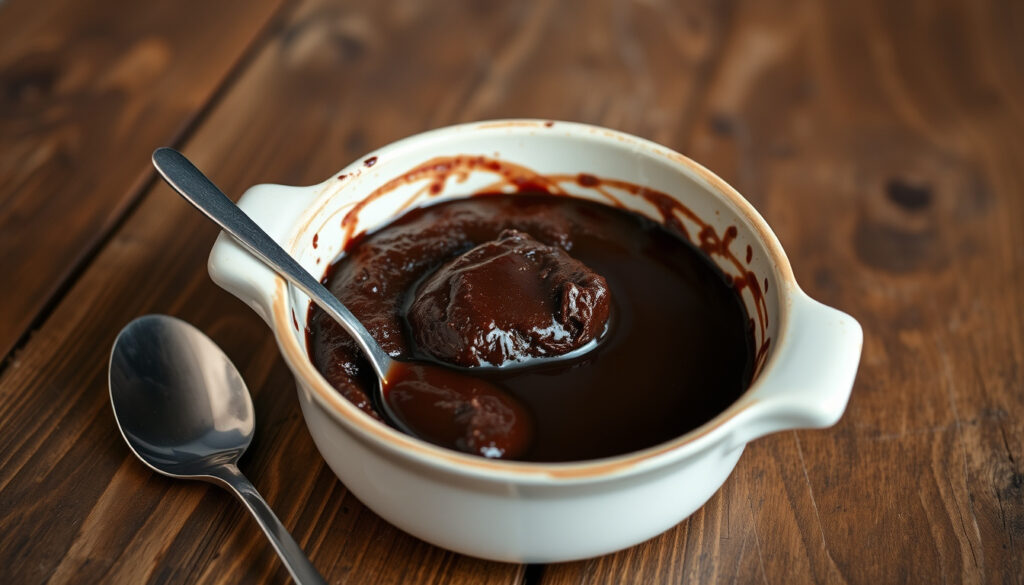
When you scoop into a warm chocolate self saucing pudding, the first spoonful tells you everything: a tender sponge on top, and a glossy chocolate sauce pooled underneath. It’s a dessert that feels like a production but comes together in about ten minutes of prep, and once you understand the simple science behind the sauce — and how different cooks tweak the formula — you’ll nail it every time.
Preparation time: 10 minutes ·
Cooking time: 30 minutes ·
Total time: 40 minutes ·
Servings: 6 ·
Difficulty: Easy
Quick snapshot
- Self-saucing pudding works because hot water poured over the batter creates a sauce layer beneath the sponge — RecipeTin Eats (popular recipe blog)
- The exact origin of the self-saucing pudding recipe is unknown
- Baking time: approximately 30–35 minutes at 170–180°C — Eight Forest Lane (lifestyle blog)
- Serve warm with vanilla ice cream and fresh strawberries — Eight Forest Lane (lifestyle blog)
Five recipe variations, one clear pattern: the best versions balance a light sponge with a deeply flavoured sauce layer.
| Attribute | Value |
|---|---|
| Main ingredient | Cocoa powder |
| Type | Dessert |
| Cuisine | Western |
| Difficulty | Easy |
| Oven temperature | 170°C (335°F) standard / 150°C (305°F) fan |
| Baking time | 30–35 minutes |
| Key technique | Hot water poured over batter creates sauce |
| Best served | Warm, with vanilla ice cream |
What Is a Chocolate Self Saucing Pudding?
A chocolate self saucing pudding is a dessert where a cake-like batter bakes into a light sponge while a rich chocolate sauce forms underneath. The magic happens because a mixture of sugar and cocoa is sprinkled over the uncooked batter, then boiling water is poured gently on top. As the pudding bakes, the hot water melts the sugar and cocoa, creating a liquid that sinks to the bottom. The sponge rises above it, and what comes out of the oven is a two-layer dessert — cake on top, sauce beneath — all from one dish. RecipeTin Eats (popular recipe blog) calls it “a magic trick” of home baking.
The implication: you get a dessert that looks far more complicated than it actually is. The same technique works for butterscotch, caramel, and vanilla variations, making the self-saucing method a versatile framework.
How to Make Chocolate Self Saucing Pudding from Scratch
Ingredients needed
- 1 cup (150 g) self-raising flour (or all-purpose flour + 1½ tsp baking powder)
- ⅓ cup (30 g) cocoa powder, divided
- ¾ cup (150 g) white sugar, divided
- ½ tsp baking powder
- ¼ tsp salt
- ½ cup (125 ml) milk
- 60 g melted butter (or ¼ cup vegetable oil)
- 1 tsp vanilla extract
- 1¾ cups (440 ml) boiling water
The dual use of cocoa — some in the batter, some in the topping — is what creates the contrast between a mild sponge and an intensely fudgy sauce. Skimp on the topping cocoa and the sauce will be thin.
Step-by-step instructions
- Preheat the oven to 170°C (335°F) for a standard oven, or 150°C (305°F) for fan-forced. RecipeTin Eats (popular recipe blog)
- Grease a 5–6 cup (1.2–1.4 L) baking dish with butter. RecipeTin Eats (popular recipe blog)
- In a medium bowl, whisk the flour, ¼ cup of the cocoa, ½ cup of the sugar, the baking powder, and salt.
- Add the milk, melted butter, and vanilla. Stir until just combined — do not overmix. The Flavor Bender (recipe development blog) notes the batter should be smooth but not overworked. Spread the batter evenly into the prepared dish.
- In a small bowl, combine the remaining 2 tablespoons cocoa, remaining ¼ cup sugar, and a pinch of salt. Sprinkle this mixture evenly over the batter. The Flavor Bender (recipe development blog)
- Gently pour the boiling water over the back of a dessert spoon held just above the topping. This distributes the water without punching holes in the batter. Katy’s Food Finds (home cooking blog) recommends this technique.
- Bake for 30–35 minutes, until the top springs back when touched and the sauce is bubbling around the edges. Eight Forest Lane (lifestyle blog) says the top should be “lightly spongy.”
- Let it stand for 2–3 minutes, then serve warm. The sauce thickens slightly as it sits.
Tips for success
- Always use boiling water — not hot tap water — to activate the raising agents and dissolve the topping sugar. Katy’s Food Finds (home cooking blog)
- Don’t stir the pudding after pouring the water. The whole point is that the layers remain separate during baking.
- For a richer sauce, add 1–2 tablespoons of dark brown sugar to the topping mix.
The pattern across tested recipes is consistent: trust the water temperature and keep the batter light.
What Are the Best Chef Variations?
The classic self-saucing pudding has inspired dozens of adaptations. Below, five trusted recipe sources show how small changes — a splash of bourbon, a lower sugar ratio, a microwave shortcut — shift the result. The table captures the key differences.
| Source | Bake temperature | Prep time | Key variation | Unique feature |
|---|---|---|---|---|
| RecipeTin Eats | 170°C (335°F) | 10 min | Classic all-purpose flour + baking powder | Uses butter-greased 5–6 cup dish |
| The Flavor Bender | 180°C (350°F) | 10 min | Eggs + optional bourbon in batter | Richer, cakier sponge |
| Eight Forest Lane | 180°C | ~10 min | Straightforward family recipe | Served with vanilla ice cream + fresh strawberries |
| Scrummy Lane | ~180°C | ~10 min | Low-sugar, egg-free | Also offers a microwave mug version |
| Katy’s Food Finds | 180°C | ~10 min | Traditional approach | Warms milk and butter before mixing |
Celebrity chefs have also put their stamp on the pudding. Jamie Oliver’s published version uses self-raising flour for a lighter crumb. Nigella Lawson adds espresso powder to deepen the chocolate flavour. Mary Berry’s recipe, from her classic baking collection, sticks to a no-fuss method that prioritises reliability. The BBC Good Food (editorial food site) version keeps ingredients minimal and emphasises the sauce-to-sponge ratio.
The trade-off: richer versions with eggs or bourbon deliver a denser, more decadent pudding, while egg-free and lower-sugar options keep the dessert lighter and more accessible for everyday cooking.
Can You Make Other Flavors?
Butterscotch Self Saucing Pudding
Replace the cocoa powder in the topping with ¼ cup of packed brown sugar and 2 tablespoons of butter, diced small. The sauce turns amber and buttery instead of chocolatey. The batter itself stays vanilla-based (omit the cocoa from the batter).
Caramel Self Saucing Pudding
Follow the butterscotch method but add 1 tablespoon of golden syrup or corn syrup to the topping mix. For the hot water, dissolve ½ cup of brown sugar directly into it before pouring. The result is a deeper, more complex caramel sauce.
Vanilla Self Saucing Pudding
Omit all cocoa from the batter and topping. Increase the vanilla to 2 teaspoons and add 1 extra tablespoon of sugar to the topping. The sauce will be a clear, sweet vanilla syrup — a lighter finish that pairs well with berries or citrus zest.
The pattern across these variations is consistent: the mechanism works because the topping sugar and flavour base (cocoa, brown sugar, or vanilla) need only hot water and heat to form a liquid. The sponge batter stays neutral enough to carry any flavour.
What Are Common Mistakes and Troubleshooting Tips?
Why is my pudding dry?
- Too much flour or overmixing develops gluten, producing a tough sponge. Stir only until the flour is incorporated. The Flavor Bender (recipe development blog) warns specifically against overmixing.
- Not enough liquid in the batter. If the batter is too stiff, add an extra tablespoon of milk.
- Overbaking dries out the sponge. Start checking at 28 minutes.
Why didn’t the sauce form?
- The water wasn’t hot enough. It must be freshly boiled — hot tap water won’t dissolve the sugar and cocoa properly. Katy’s Food Finds (home cooking blog) stresses the importance of boiling water.
- The topping layer was too thin. Ensure the cocoa-sugar mixture covers the entire batter surface evenly.
- The baking dish was too wide. A wider dish spreads the batter thin, so the sponge doesn’t rise enough to trap the sauce. Stick to a 5–6 cup dish.
How to prevent sticking
- Grease the dish thoroughly with butter or non-stick spray, including the sides. RecipeTin Eats (popular recipe blog) uses a butter-greased dish.
- Let the pudding rest for 2–3 minutes after baking before serving. This allows the sauce to settle and the sponge to firm up slightly.
Most sauce failures trace back to water temperature. Freshly boiled water is non-negotiable for dissolving the topping and creating the liquid layer that sinks during baking.
The catch: most failures come down to one variable — the water temperature. Boiling water is non-negotiable for activating the sauce layer.
Confirmed facts
- Self-saucing pudding works because hot water poured over the batter creates a sauce beneath the sponge RecipeTin Eats (popular recipe blog)
What’s unclear
- The exact origin of the self-saucing pudding recipe is unknown
“This chocolate self-saucing pudding is easy and fast — it’s the kind of dessert that feels special but takes almost no effort.”
— Nagi, RecipeTin Eats (popular recipe blog)
“Mix the batter until smooth but not overmixed. A light hand makes all the difference between a tender sponge and a tough one.”
— Dini, The Flavor Bender (recipe development blog)
For the home cook who wants an impressive dessert without a long ingredient list, the chocolate self saucing pudding is a near-perfect recipe. The technique is forgiving, the variations are endless, and the result reliably delights. Whether you stick with the classic chocolate version or experiment with butterscotch or the chef-inspired twists from Jamie Oliver and Nigella Lawson, the same core method applies. The choice is clear: a simple weeknight meal paired with a warm, self-saucing dessert turns an ordinary dinner into something memorable. Or, if you’re planning a bigger cooking session, check out our beef short ribs guide for a hearty main that complements this indulgent finish.
Frequently asked questions
Can I use gluten-free flour?
Yes. Substitute self-raising flour with a gluten-free all-purpose blend that contains xanthan gum, and add an extra ½ teaspoon of baking powder. The texture will be slightly denser but the sauce layer works the same way.
Can I make it ahead of time?
Self-saucing pudding is best served fresh from the oven. The sauce thickens and the sponge firms up as it cools. If you must make it ahead, reheat individual portions in the microwave for 20–30 seconds, though the sauce won’t be as fluid as on the first serving.
Can I use a microwave?
Yes. Scrummy Lane (healthy recipe blog) offers a microwave mug version: mix the batter in a large mug, add the topping and boiling water, and microwave on high for 1½–2 minutes. The texture won’t match the oven-baked version, but it works for a quick single serving.
Is it suitable for kids?
Absolutely. The classic version is egg-free and uses simple ingredients. For younger children, reduce the sugar in the topping slightly — the sauce will still form.
What can I serve with it?
Vanilla ice cream is the classic pairing. Pouring cream, whipped cream, or a dollop of Greek yoghurt also work. Fresh berries — especially raspberries or strawberries — cut the sweetness nicely. Eight Forest Lane (lifestyle blog) recommends strawberries and ice cream.
How to store leftovers?
Cover the dish with foil or transfer leftovers to an airtight container. Refrigerate for up to 3 days. Reheat in the microwave or oven at 160°C for 8–10 minutes. The sauce will be thicker after refrigeration.
Can I double the recipe?
Yes. Use a 10–12 cup baking dish and increase the baking time by 5–10 minutes. Check for doneness by gently pressing the centre — it should spring back. The sauce layer continues to form as it bakes.
More related posts
 Cash Converters Loan: Rates, Approval & Payment Options
 Lee Jong-suk and IU: Relationship Timeline and Biography
 Son of Sardaar 2 – Release Date, Cast & Plot Details
 Free ATMs Near Me: Avoid Fees in Ireland & Australia
 Gross Motor Skills – Age-by-Age Milestones Guide
 Mother of Pearl: What It Is, Properties, and Care
 Cloud Storage Free Plans – Top Providers Compared 2025
 What Is Today’s Wordle? Answer & Hints for #1779 May 3
